As an Amazon Associate, we earn from qualifying purchases. Some links on this site are affiliate links at no extra cost to you. Our recommendations are based on thorough research and editorial judgment.
How to Make Homemade Baby Food
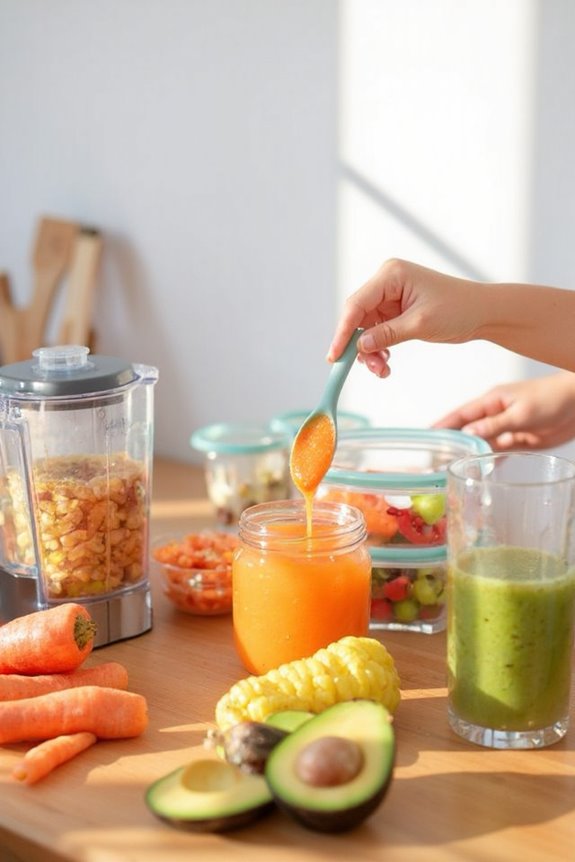
Making homemade baby food starts with age-appropriate ingredients like steamed fruits and vegetables. I recommend using a quality blender to puree foods to the right consistency for your baby’s stage. Begin with single ingredients at 6 months, then gradually introduce combinations as your baby grows. Store in airtight containers for 3 days in the refrigerator or 3 months in the freezer. Following proper food safety practices guarantees your baby gets maximum nutrition from your kitchen to their highchair.
Key Takeaways
- Steam fruits and vegetables to preserve nutrients, then puree to desired consistency using a blender or food processor.
- Start with single-ingredient purees at 6 months, then gradually introduce combination foods as baby develops.
- Store homemade baby food in airtight containers for 3 days in the refrigerator or 3 months in the freezer.
- Introduce new foods one at a time, waiting 3-4 days between introductions to monitor for allergic reactions.
- Progress from smooth purees to mashed and textured foods as baby grows, following age-appropriate food guidelines.
Why Make Your Own Baby Food at Home
You may be interested

While commercial baby foods offer convenience, making your own baby food at home provides numerous advantages that benefit both you and your little one.
When I prepare homemade baby food, I experience significant financial benefits through cost savings and reduced dependence on store-bought options. I can purchase ingredients on sale or in season, and avoid paying for packaging and distribution costs associated with commercial products.
The greatest advantage I’ve found is ingredient control. I can:
- Choose organic or locally sourced produce
- Eliminate preservatives and additives
- Customize recipes for allergies or dietary needs
- Introduce a wider variety of flavors early on
Essential Tools and Equipment for Homemade Baby Food
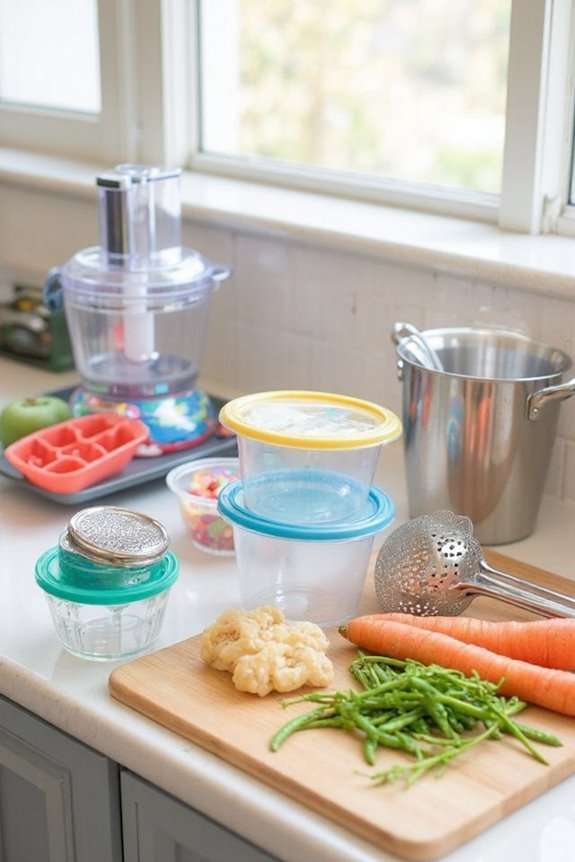
Creating nutritious baby food at home doesn’t require an extensive kitchen setup, but several key tools will make the process safer, easier, and more efficient. I recommend starting with these essential kitchen tools:
- A quality blender or food processor for pureeing to different consistencies
- An immersion blender for quick, direct-in-pot pureeing
- Serrated utility knives for efficient fruit and vegetable preparation
For food preparation equipment, you’ll need:
- Steamer baskets to preserve nutrients
- Baking sheets for roasting ingredients
- Food-safe storage containers or ice cube trays for portioning
Don’t forget safety items like cleaning brushes and dish soap to maintain hygiene standards. For serving, invest in soft spoons and suction bowls to make feeding time less messy and more enjoyable.
Recommended Products


✅Our food processor is CE Certified, confirming that it complies with the essential safety requirements of the Low Voltage Directive 2014/35/EU. It is manufactured to the highest safety standards and fully complies with the rigorous testing requirements of the EN 60335 standard for electric appliances.
Age-Appropriate Foods for Your Growing Baby
Starting solid foods marks a significant milestone in your baby’s development, typically occurring between four and six months of age. I recommend beginning with iron-fortified cereals mixed with breast milk or formula to achieve a thin consistency.
As your baby grows:
- 6-8 months: Introduce pureed age-appropriate fruits like peaches and bananas, and age-appropriate vegetables such as carrots and green beans
- 7-9 months: Progress to lumpier textures and soft finger foods
- 9-12 months: Expand to more solid foods with varied textures
Always introduce new foods one at a time to monitor for allergies. Avoid honey, cow’s milk, citrus fruits, and shellfish until your baby turns one. Throughout all stages, breast milk or formula remains the primary nutrition source.
Step-by-Step Food Preparation Guide
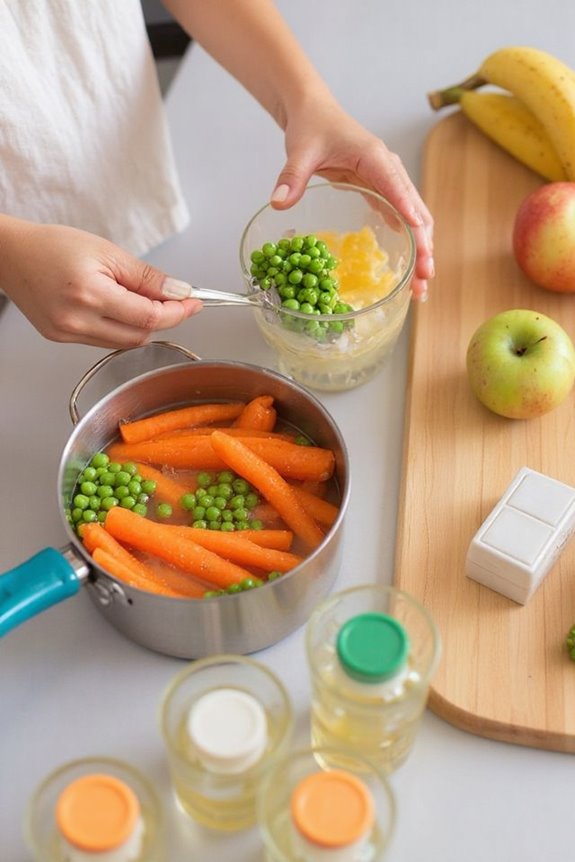
Once you’ve selected age-appropriate ingredients for your baby, you’ll need to prepare them properly to guarantee safety and maximum nutritional value. Food safety begins with thorough washing of all produce and careful ingredient selection.
I recommend following these preparation steps:
- Wash all fruits and vegetables thoroughly
- Remove skins, seeds, and pits to prevent choking
- Trim fat from meats and remove poultry skin
- Cook meats completely for food safety
For cooking:
- Steam or roast vegetables until tender
- Avoid adding salt, sugar, or seasonings
- Puree ingredients until smooth, adding liquid if needed
After preparation:
- Freeze portions in labeled containers
- Thaw safely in the refrigerator or microwave in 20-second intervals
- Always test temperature before serving
Recommended Products

Modern instant hot and cold water faucet blending efficiency and style with swivel spout for convenience; unique single handle design

6-1/2- and 3-liter pressure cookers with lid that fits both pots

16 Versatile Modes: Equipped with a 6-cup (uncooked) capacity and 16 varying menu options, including white (glutinous) rice, GABA/brown rice, veggie rice, high/non-pressure, and even baby food
Best Practices for Safe Food Handling and Storage
Beyond preparing your baby’s food properly, safe handling and storage practices play a major role in preventing foodborne illnesses. I’ve outlined essential food safety guidelines below:
Proper Storage:
- Refrigerate homemade baby food within two hours of preparation
- Use airtight containers labeled with preparation dates
- Freeze portions in ice cube trays for up to 2 months
Safe Handling:
- Always wash hands and equipment before food preparation
- Keep raw and cooked foods separate to prevent cross-contamination
- Serve small portions and discard uneaten food
- Never feed directly from storage containers
Temperature Control:
- Cook foods to proper internal temperatures
- Use a food thermometer to verify doneness
- Allow hot foods to cool before refrigerating
Following these storage guidelines will help guarantee your homemade baby food remains safe and nutritious.
Nutritional Considerations for Infant Feeding
While your baby’s nutritional needs evolve rapidly during the first year, understanding these changing requirements helps you provide ideal nourishment through homemade foods. Infant nutrition guidelines recommend:
- 0-6 months: Exclusive breast milk or formula
- 6+ months: Introduce iron-rich foods like pureed meats
- 6-8 months: Offer 2-3 meals daily with varied textures
When preparing homemade baby food, focus on these crucial nutrients:
- Iron: Critical after 6 months to prevent anemia
- Calcium: Supports developing bones
- Vitamin C: Enhances iron absorption
- Essential fatty acids: Fundamental for brain development
Remember to avoid honey before 12 months due to botulism risk, and don’t introduce fruit juices until after their first birthday. Following these feeding guidelines guarantees your homemade options support your baby’s developmental needs.
Batch Cooking and Freezing Techniques
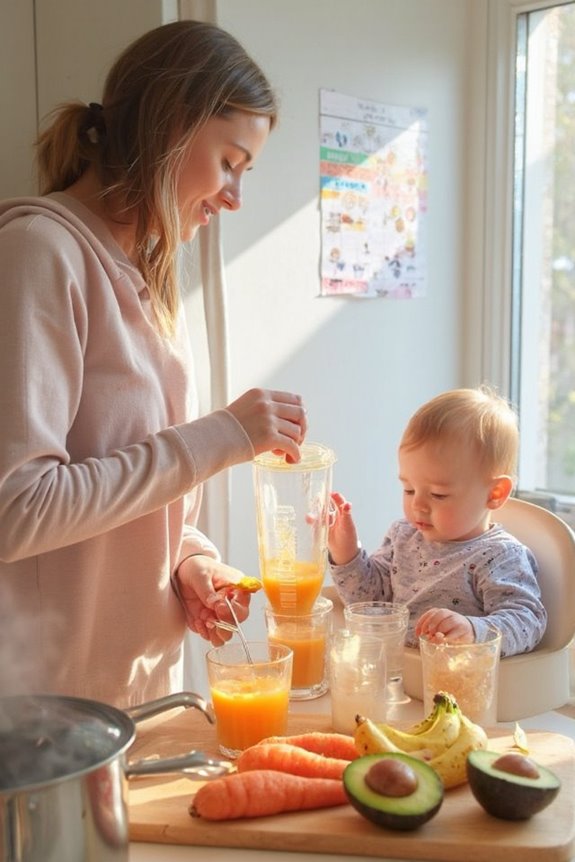
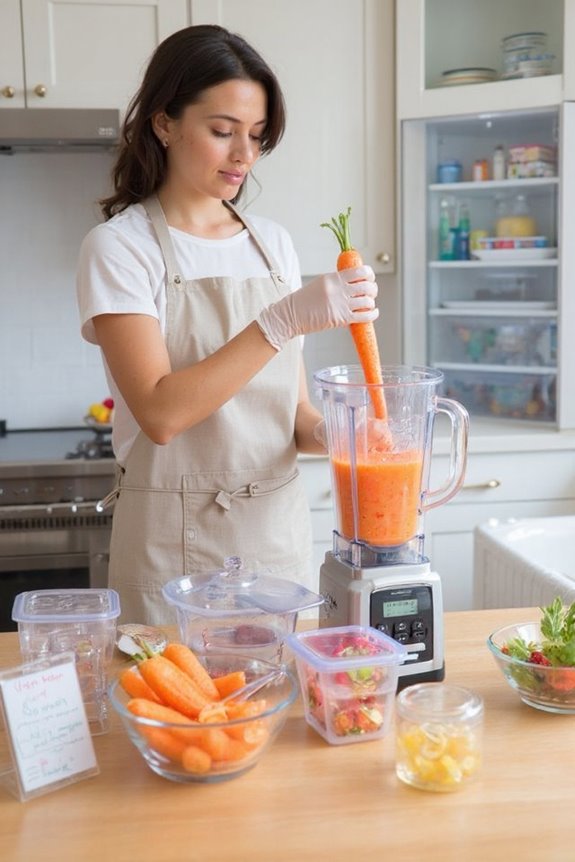
The efficient batch cooking and freezing of baby food can save you countless hours in the kitchen while guaranteeing your little one always has nutritious meals ready. I’ve found that planning meals weekly and selecting seasonal produce yields the best results.
When batch cooking:
- Steam vegetables and fruits to preserve nutrients
- Use a blender that handles at least 1 cup of food
- Adjust blending time for desired consistency
- Store immediately in air-tight containers
For freezing strategies:
- Portion food into ice cube trays for easy serving
- Transfer frozen cubes to labeled containers
- Include date and contents on all labels
- Store for up to 3 months
- Thaw only needed portions in refrigerator or microwave
Always sanitize equipment before use and organize your freezer by date to guarantee freshness.
Recommended Products

THE ORIGINAL CREATORS OF THE BABY FOOD MAKER Newest model with glass bowl, stainless steel steam basket, & large stainless steel reservoir! All in ONE machine operation – no pots, pans, blenders, stove/ microwave use or clean up. This fast baby food maker steam cooks raw meat, chicken, fish, fruits or veggies to any stage baby food & toddler food in under 20 mins. Our baby food maker not only saves time and money but also ensures that only the ingredients you want are added to your baby’s food.
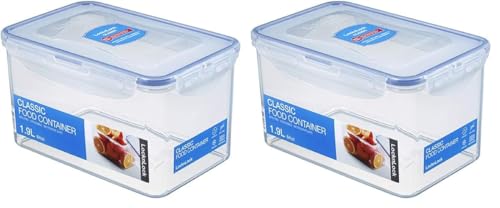
The information below is per-pack only

Transitioning From Purees to Textured Foods
As your baby grows, shifting from smooth purees to textured foods becomes an essential developmental milestone that typically occurs between 6-9 months of age. I recommend watching for key readiness signs: sitting upright, showing interest in your food, and consuming thin purees without gagging for at least three weeks.
When beginning texture exploration, follow this progression:
- Start with thicker purees
- Move to mashed or minced foods
- Introduce soft, single-texture items
- Add dissolvable finger foods around 9 months
During these feeding milestones, remember that breast milk or formula remains your baby’s primary nutrition source. Be patient—some babies need weeks to adjust to new textures. Model eating behaviors yourself and maintain consistent mealtimes to support this important change.
Recommended Products

FDA Registered USA Brand with No Tariff Costs or Delays: Avoid international delays and import fees. Includes a one-year warranty and lifetime trade-in benefits for long-term value.
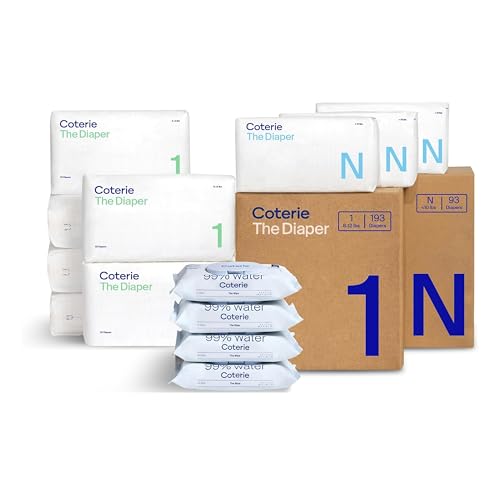
THE BABY DIAPERS: Minimize leaks, blowouts, and the cause of moisture-related diaper rash. Coterie Diapers can absorb over 16 oz of liquid (based on lab testing of Size 4 Diapers) and provide up to 12 hour leak protection. Ultra-soft, apparel-grade materials offer day and night comfort and protection for baby's delicate skin.
Includes: A vegetable peeler, as well as parring, slicing, cheese, tomato, steak, bread, and butcher knives
Creative Recipe Ideas for Different Developmental Stages
Have you ever wondered how to create exciting, age-appropriate food for your growing baby? Let me guide you through options tailored to each stage.
4-6 Months (Stage One)
- Simple pea puree with a hint of mint
- Sweet potato with mild curry powder
6-8 Months (Stage Two)
- Apple-banana blend with cinnamon
- Carrot-zucchini mix with basil
9-12 Months (Stage Three)
- Avocado-banana with chunkier texture
- Yogurt with seasonal fruit purees
Creative flavor combinations don’t need to be complicated. Try these seasonal ingredient swaps:
- Summer: Replace apples with peaches
- Fall: Use butternut squash instead of sweet potato
- Winter: Introduce root vegetables like parsnips
Remember to introduce one new food at a time to monitor for allergic reactions.
Recommended Products


64 oz. BPA-Free Copolyester Container

Kitchen Countertop Blender: Professional-grade blender uses 1-touch buttons to control the 6 pre-programmed cycles, pulse option, and 10-speed manual control
Frequently Asked Questions
Can I Use Spices in My Baby’s Homemade Food?
Yes, I can absolutely use spices in my baby’s food. I’d introduce mild spice varieties gradually to develop their palate. Different flavor profiles like cinnamon, ginger, and cumin are safe and beneficial for babies.
How Do I Know if My Baby Is Having an Allergic Reaction?
I’d look for baby allergy symptoms like hives, swelling, vomiting, or breathing difficulties within minutes to hours after exposure. If you’re concerned, consider food allergy testing through your pediatrician for proper diagnosis.
Is Microwave Heating Safe for Baby Food?
I’d say microwave heating is generally safe for baby food if you follow heating guidelines carefully. Keep temperatures between 90-120°F, use glass containers, heat in short intervals, and always stir to prevent hot spots.
Can I Mix Breastmilk or Formula With Homemade Purees?
Like adding sunshine to your garden, you can mix breastmilk or formula with homemade purees. I’d suggest adding breastmilk for its immune-boosting benefits, or properly prepared formula. Just maintain strict hygiene during your mixing process.
When Should I Introduce Potential Allergens Like Eggs or Nuts?
I’d recommend introducing allergens like eggs and nuts around 6 months, but not before 4 months. Following allergy introduction guidelines, start with small amounts of safe first foods while monitoring your baby for reactions.